7.4 KiB
BREAKING CHANGES
Table of Contents
- BREAKING CHANGES
v10.0.0
New preferences file location and format
The agent preferences file (preferences.toml) location has changed. The
configuration is now located in ~/.config/go-hass-agent/.
The format of the file has changed as well it now contains more structure.
What you need to do
Run the upgrade command
An upgrade command has been added to Go Hass Agent that will attempt to
migrate a preferences file from an older version to the location and format used
by the new version. It uses reasonable efforts to migrate but may not succeed
and is harmless to run regardless. It is the recommended remediation for this
breaking change.
After you have installed the new version of Go Hass Agent:
- Open a terminal.
- Run
go-hass-agent upgrade - If the upgrade command reports the upgrade was successful, great news! You can run proceed to reviewing the remaining breaking changes and performing required actions as applicable.
- If the upgrade command reports an error. You'll need to proceed with the manual steps.
Manual upgrade steps (if the upgrade command failed)
[!IMPORTANT]
You only need to perform the manual upgrade steps here if the upgrade command failed.
These changes will require re-registering (see below) after upgrading.
[!NOTE]
As a result of re-registering, Go Hass Agent will appear as a new device in Home Assistant. Automations and dashboards using entities from the previous version of Go Hass Agent might need to be reconfigured. In most cases, the repairs integration will alert and direct you to make any adjustments needed, after following the manual upgrade steps and restarting the agent.
To re-register:
-
Upgrade Go Hass Agent.
-
Stop Go Hass Agent if already running.
-
Open your Home Assistant mobile_app integrations page:

-
Locate the entry for your existing Go Hass Agent device. It should be named the same as the hostname of the device it is running on.
-
Click on the menu (three vertical dots) at the right of the entry:
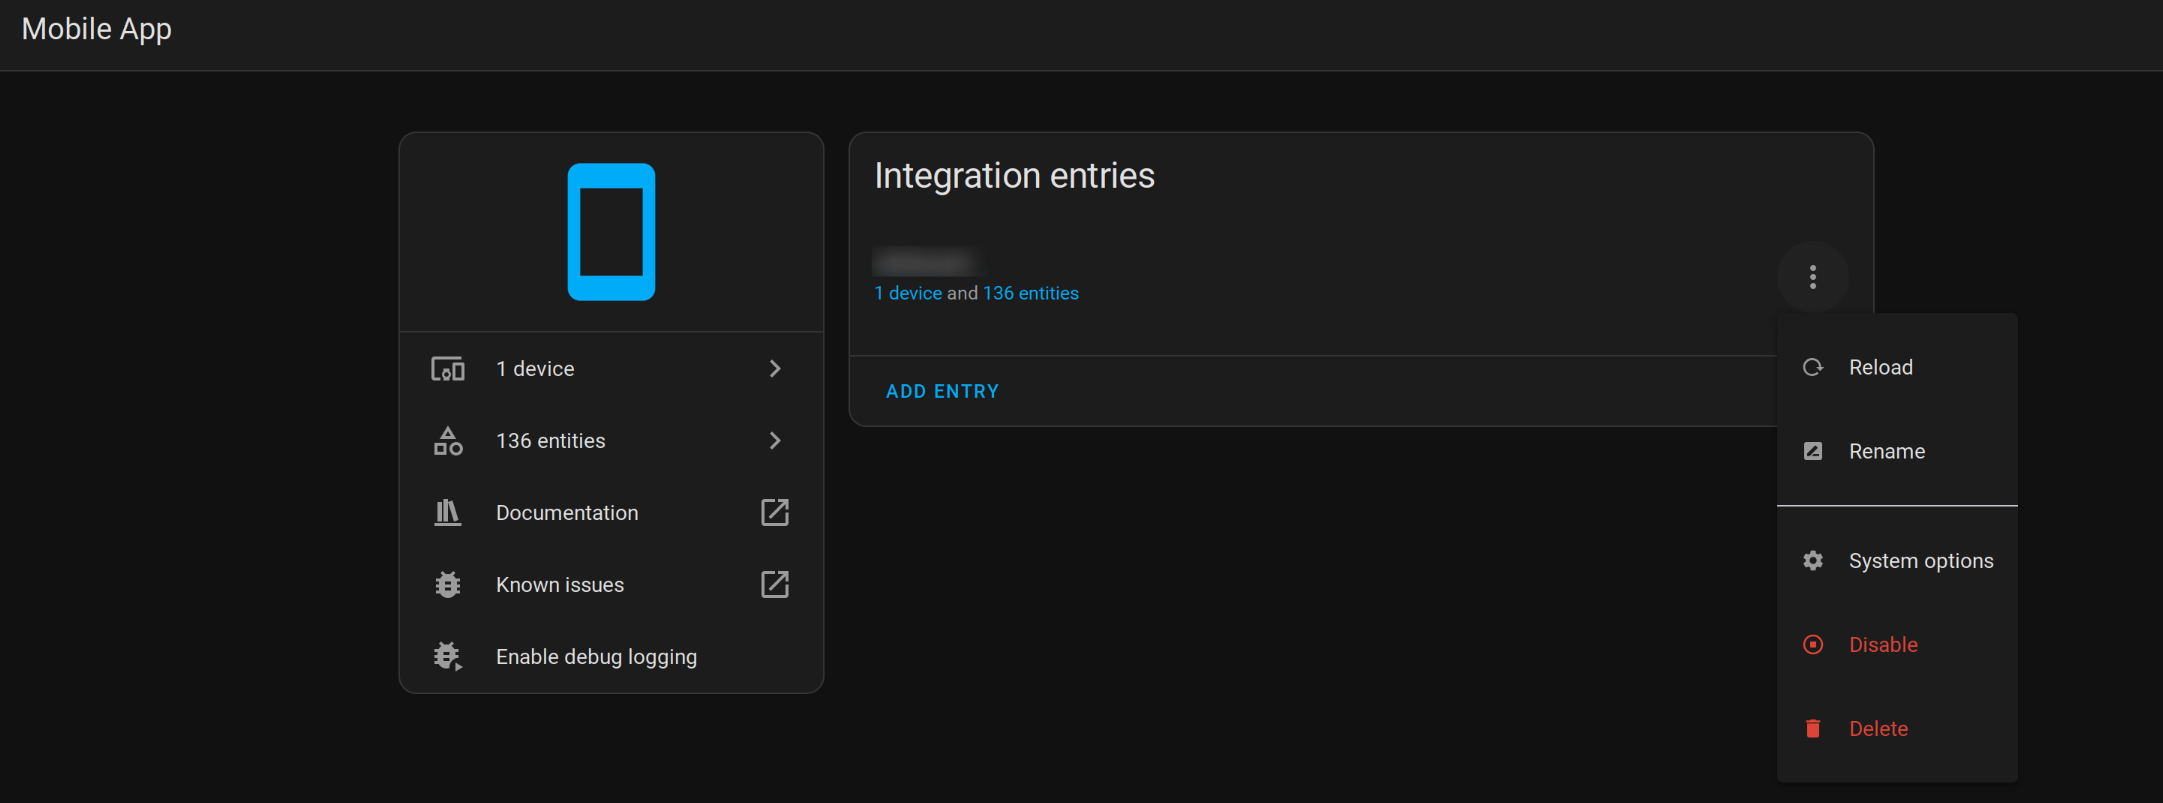
-
Choose Delete.
-
Follow the first-run instructions in the README to re-register the agent.
-
Once the agent has successfully re-registered, you can remove the old configuration directory and its contents. The old location will be
~/.config/com.joshuar.go-hass-agent.debug. -
If you previously configured MQTT in Go Hass Agent, you will need to re-enable MQTT after re-registering.
-
For users with headless installs, you'll need to edit
preferences.tomland manually add the appropriate config options. Add a section in the file similar to the following:[mqtt] server = 'tcp://localhost:1883' user = 'test-user' # optional, only if needed password = 'password' # optional, only if needed enabled = true
-
Log file location normalisation
The agent will now write to a log file at
~/.config/go-hass-agent/go-hass-agent.log.
What you need to do
Previous versions may have written a log file to either
~/.config/go-hass-agent.log or
~/.config/com.joshuar.go-hass-agent.debug/go-hass-agent.log. You can delete
these files if desired.
If you do not wish Go Hass Agent to write any log file, pass --no-log-file
when running the agent.
MQTT Device renamed
The naming of Go Hass Agent in the MQTT integration in Home Assistant has changed. It is now named after the hostname of the device running the agent, rather than the generic "Go Hass Agent". This makes it easier to navigate between multiple devices running Go Hass Agent in Home Assistant.
What you need to do
As a result of this, you may end up with a deprecated, non-functional "Go Hass Agent" device entry in Home Assistant. It can safely be removed.
[!IMPORTANT]
As the device has changed, existing automations or dashboards that are using entities from the old "Go Hass Agent" may be broken. In most cases, the repairs integration will alert and direct you to make any adjustments needed.
Power controls renaming and consolidation (when using MQTT)
If you have enabled MQTT in Go Hass Agent, then you may have some controls for shutting down/suspending the device running the agent and locking the screen/session of the user running the agent. These controls have been consolidated and only the controls that are supported by your device will be shown. Notably:
- On devices running with a graphical environment with
systemd-logindintegration (KDE, Gnome), there will be two buttons available for screen/session locking (Lock Session and Unlock Session). - On other graphical environments (Xfce, Cinnamon) there will be a single Lock Screensaver button.
- Previously, buttons for all possible power states were created by Go Hass Agent. In this version, only the controls that are supported on your device will be available. For example, if your device does not support hibernation, this control will not be shown.
What you need to do
Follow the what you need to do for the MQTT device rename breaking change, if not done already.